

Add Your First Node
With the platform running, it is time to connect your first Proxmox node. This process involves generating a join token, installing the agent on your Proxmox host, and verifying the node appears in the platform.
Generate a join token
The join token allows a new node to authenticate with the mesh network and register itself with the orchestrator.
- Log in to the portal as an admin.
- Navigate to Infrastructure > Hosts.
- Click Add Host.
 The portal generates a join token and provides the install command ready to copy.
- Copy the install command shown in the modal. It contains the join token and everything the agent needs to connect.
Install the agent
SSH into your Proxmox node and paste the install command you copied from the portal:
ssh root@your-proxmox-node
The command looks like this:
curl -fsSL https://<tenant>.flexplane.io/agent/install.sh | \
  JOIN_TOKEN=your-join-token-here \
  bash
The installer:
- Downloads the flexplane-agent binary for your architecture
- Creates the configuration file at
/etc/default/flexplane-agent - Registers the node with the mesh network using the join token
- Starts the agent as a systemd service
You can verify the agent is running:
systemctl status flexplane-agent
Understand cluster behavior
When you install the agent on one node of a Proxmox cluster, all nodes in that cluster become visible in the portal's zone view. The orchestrator discovers the cluster membership through Proxmox and shows every node.
However, the agent must be installed on each individual node for flex.plane to manage it. Nodes without the agent appear in the zone but cannot be used for VM creation, image downloads, or other management operations.
Verify node registration
Once the agent is running and connected to the mesh, the node should appear in flex.plane within a few seconds.
Check hosts
Navigate to Infrastructure > Hosts. Your new node should appear with a Connected status, showing its hostname, zone, CPU count, and memory.
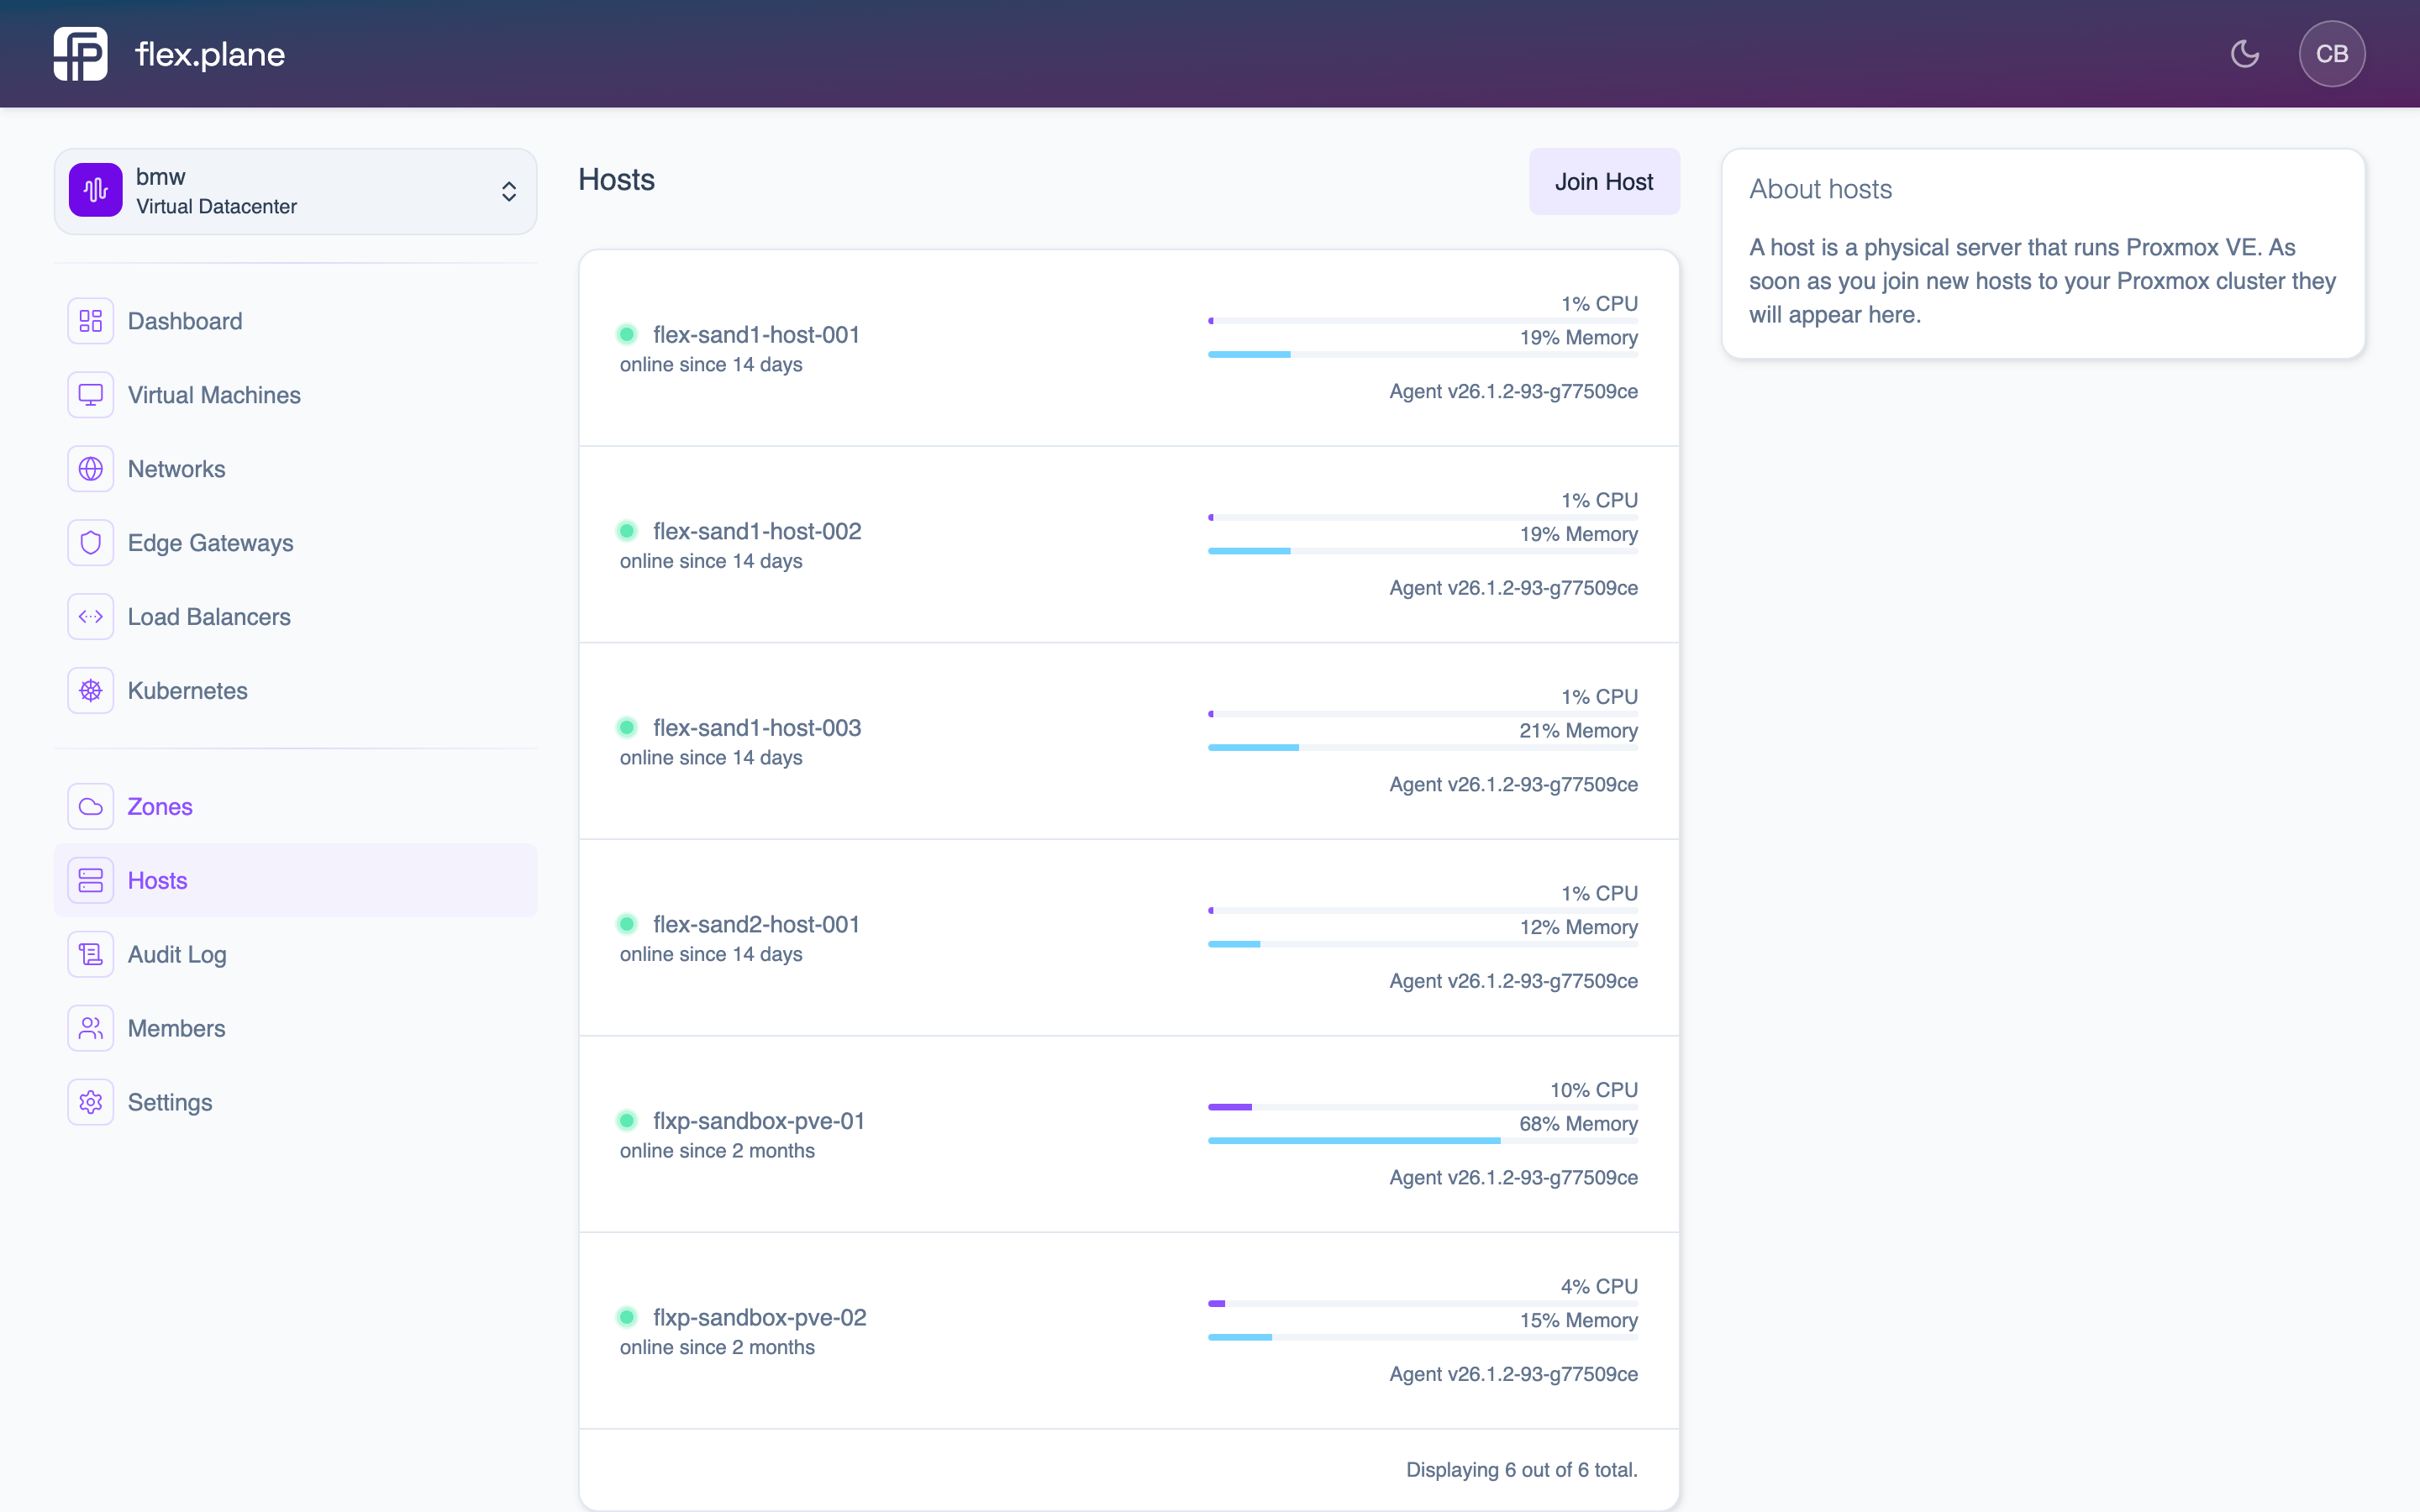 All connected hosts with their status, zone assignment, and resource information.
Check zones
The node is automatically assigned to a zone based on its Proxmox cluster membership. Navigate to Infrastructure > Zones to see the zone view.
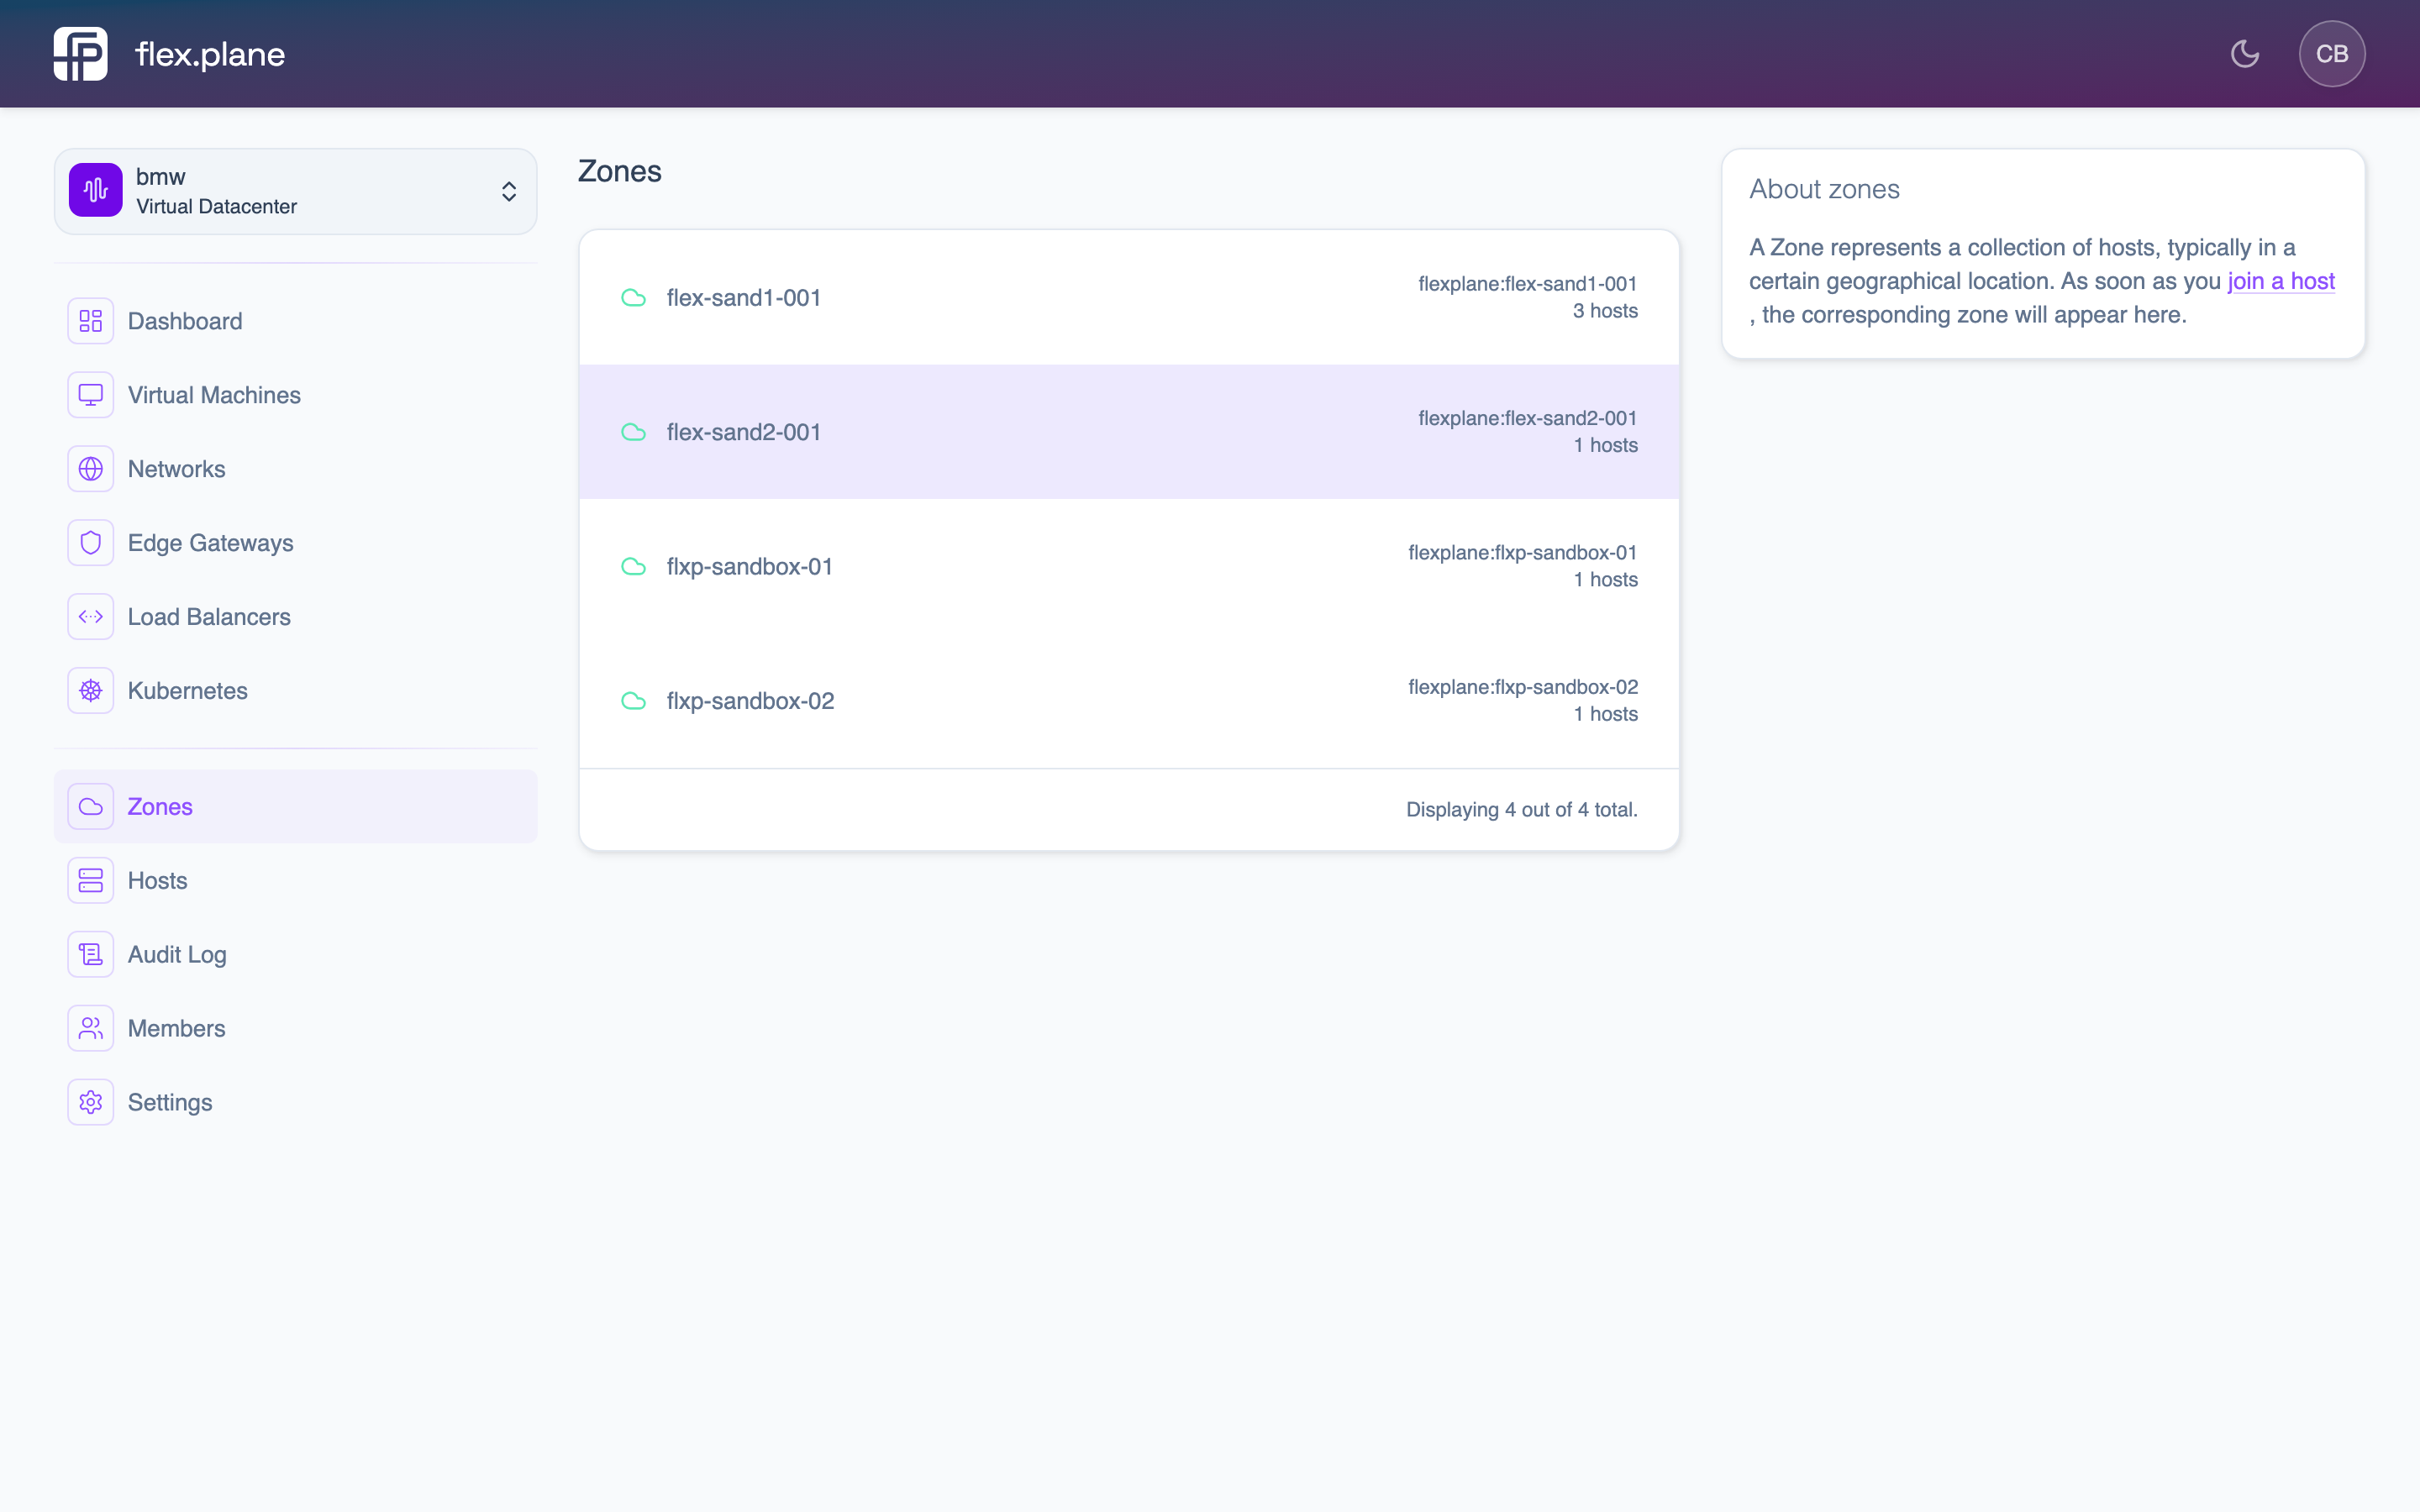 Zones represent your Proxmox clusters. Each zone shows its hosts and aggregated resources.
Click on a zone to see detailed resource usage and the hosts within it.
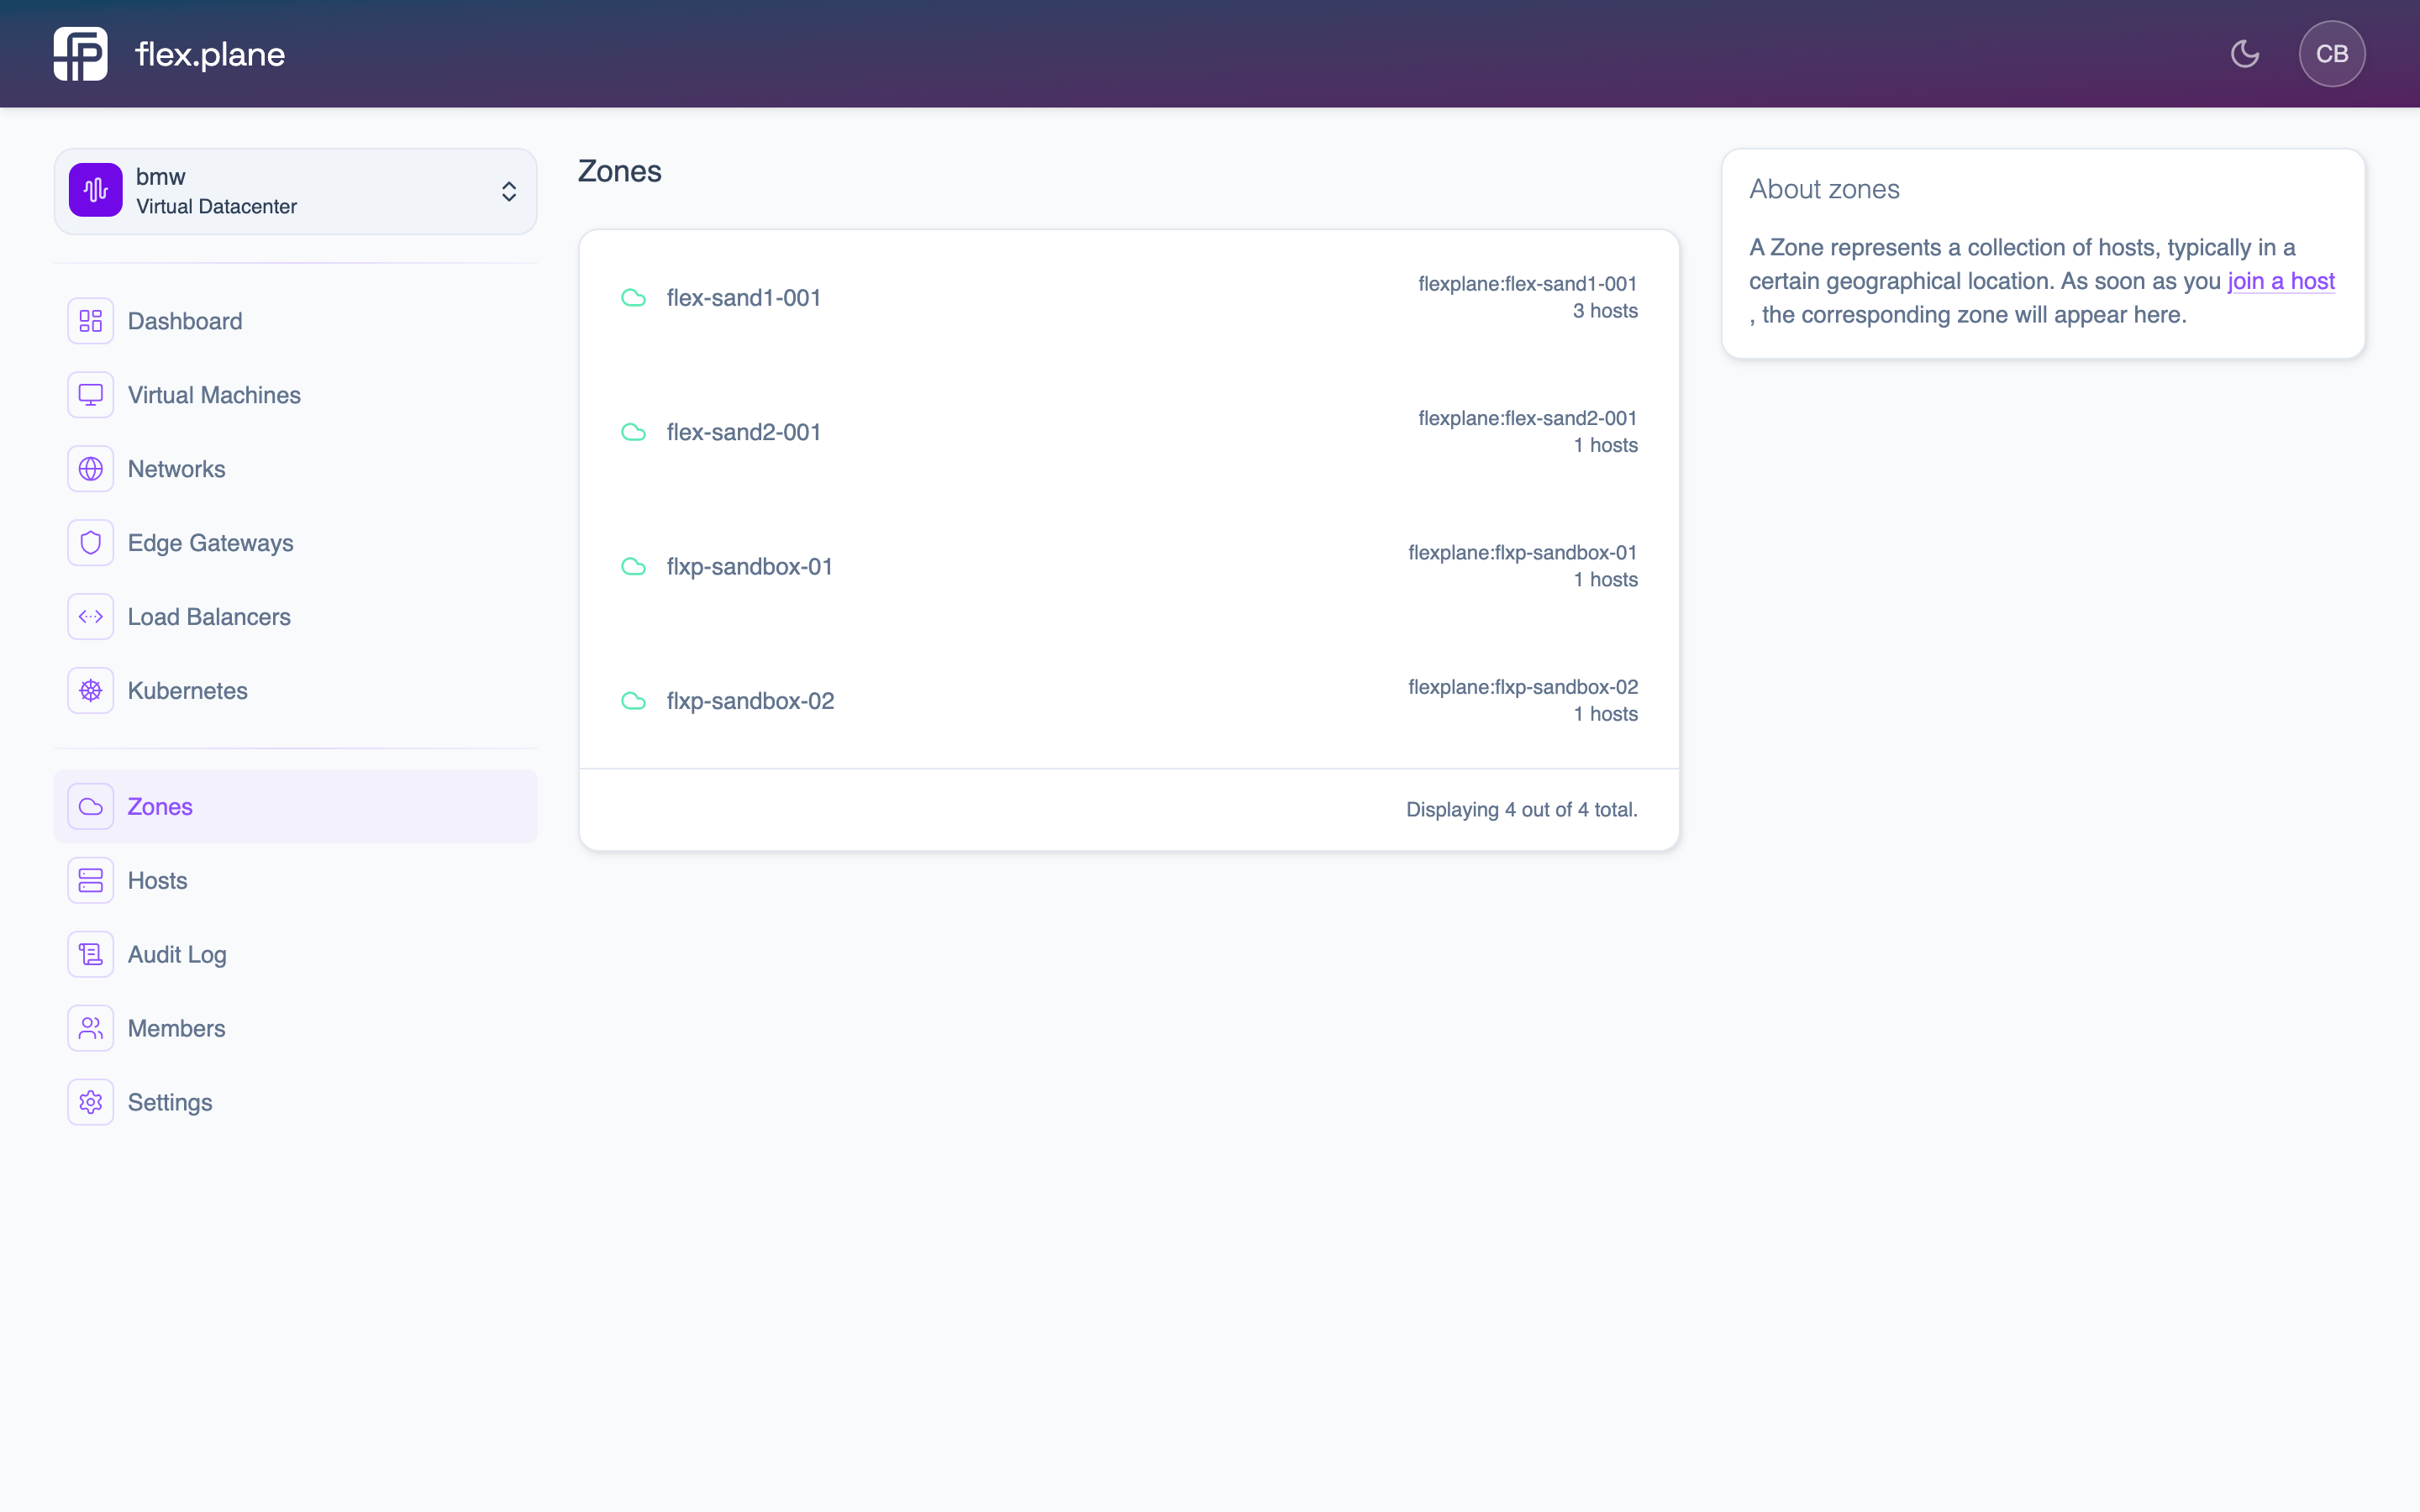 The zone detail page shows individual host resources and overall zone capacity.
journalctl -u flexplane-agent -f. Common issues include mesh connectivity problems or an expired join token.Your infrastructure is now connected. The next step is to set up compute profiles, storage profiles, and images so you can create your first VM.