

Manage Disks
Each VM has a boot disk created during provisioning and can have additional data disks attached at any time. You can add, remove, and resize disks without recreating the VM. Disk management is available from the Disks tab on the VM detail page.
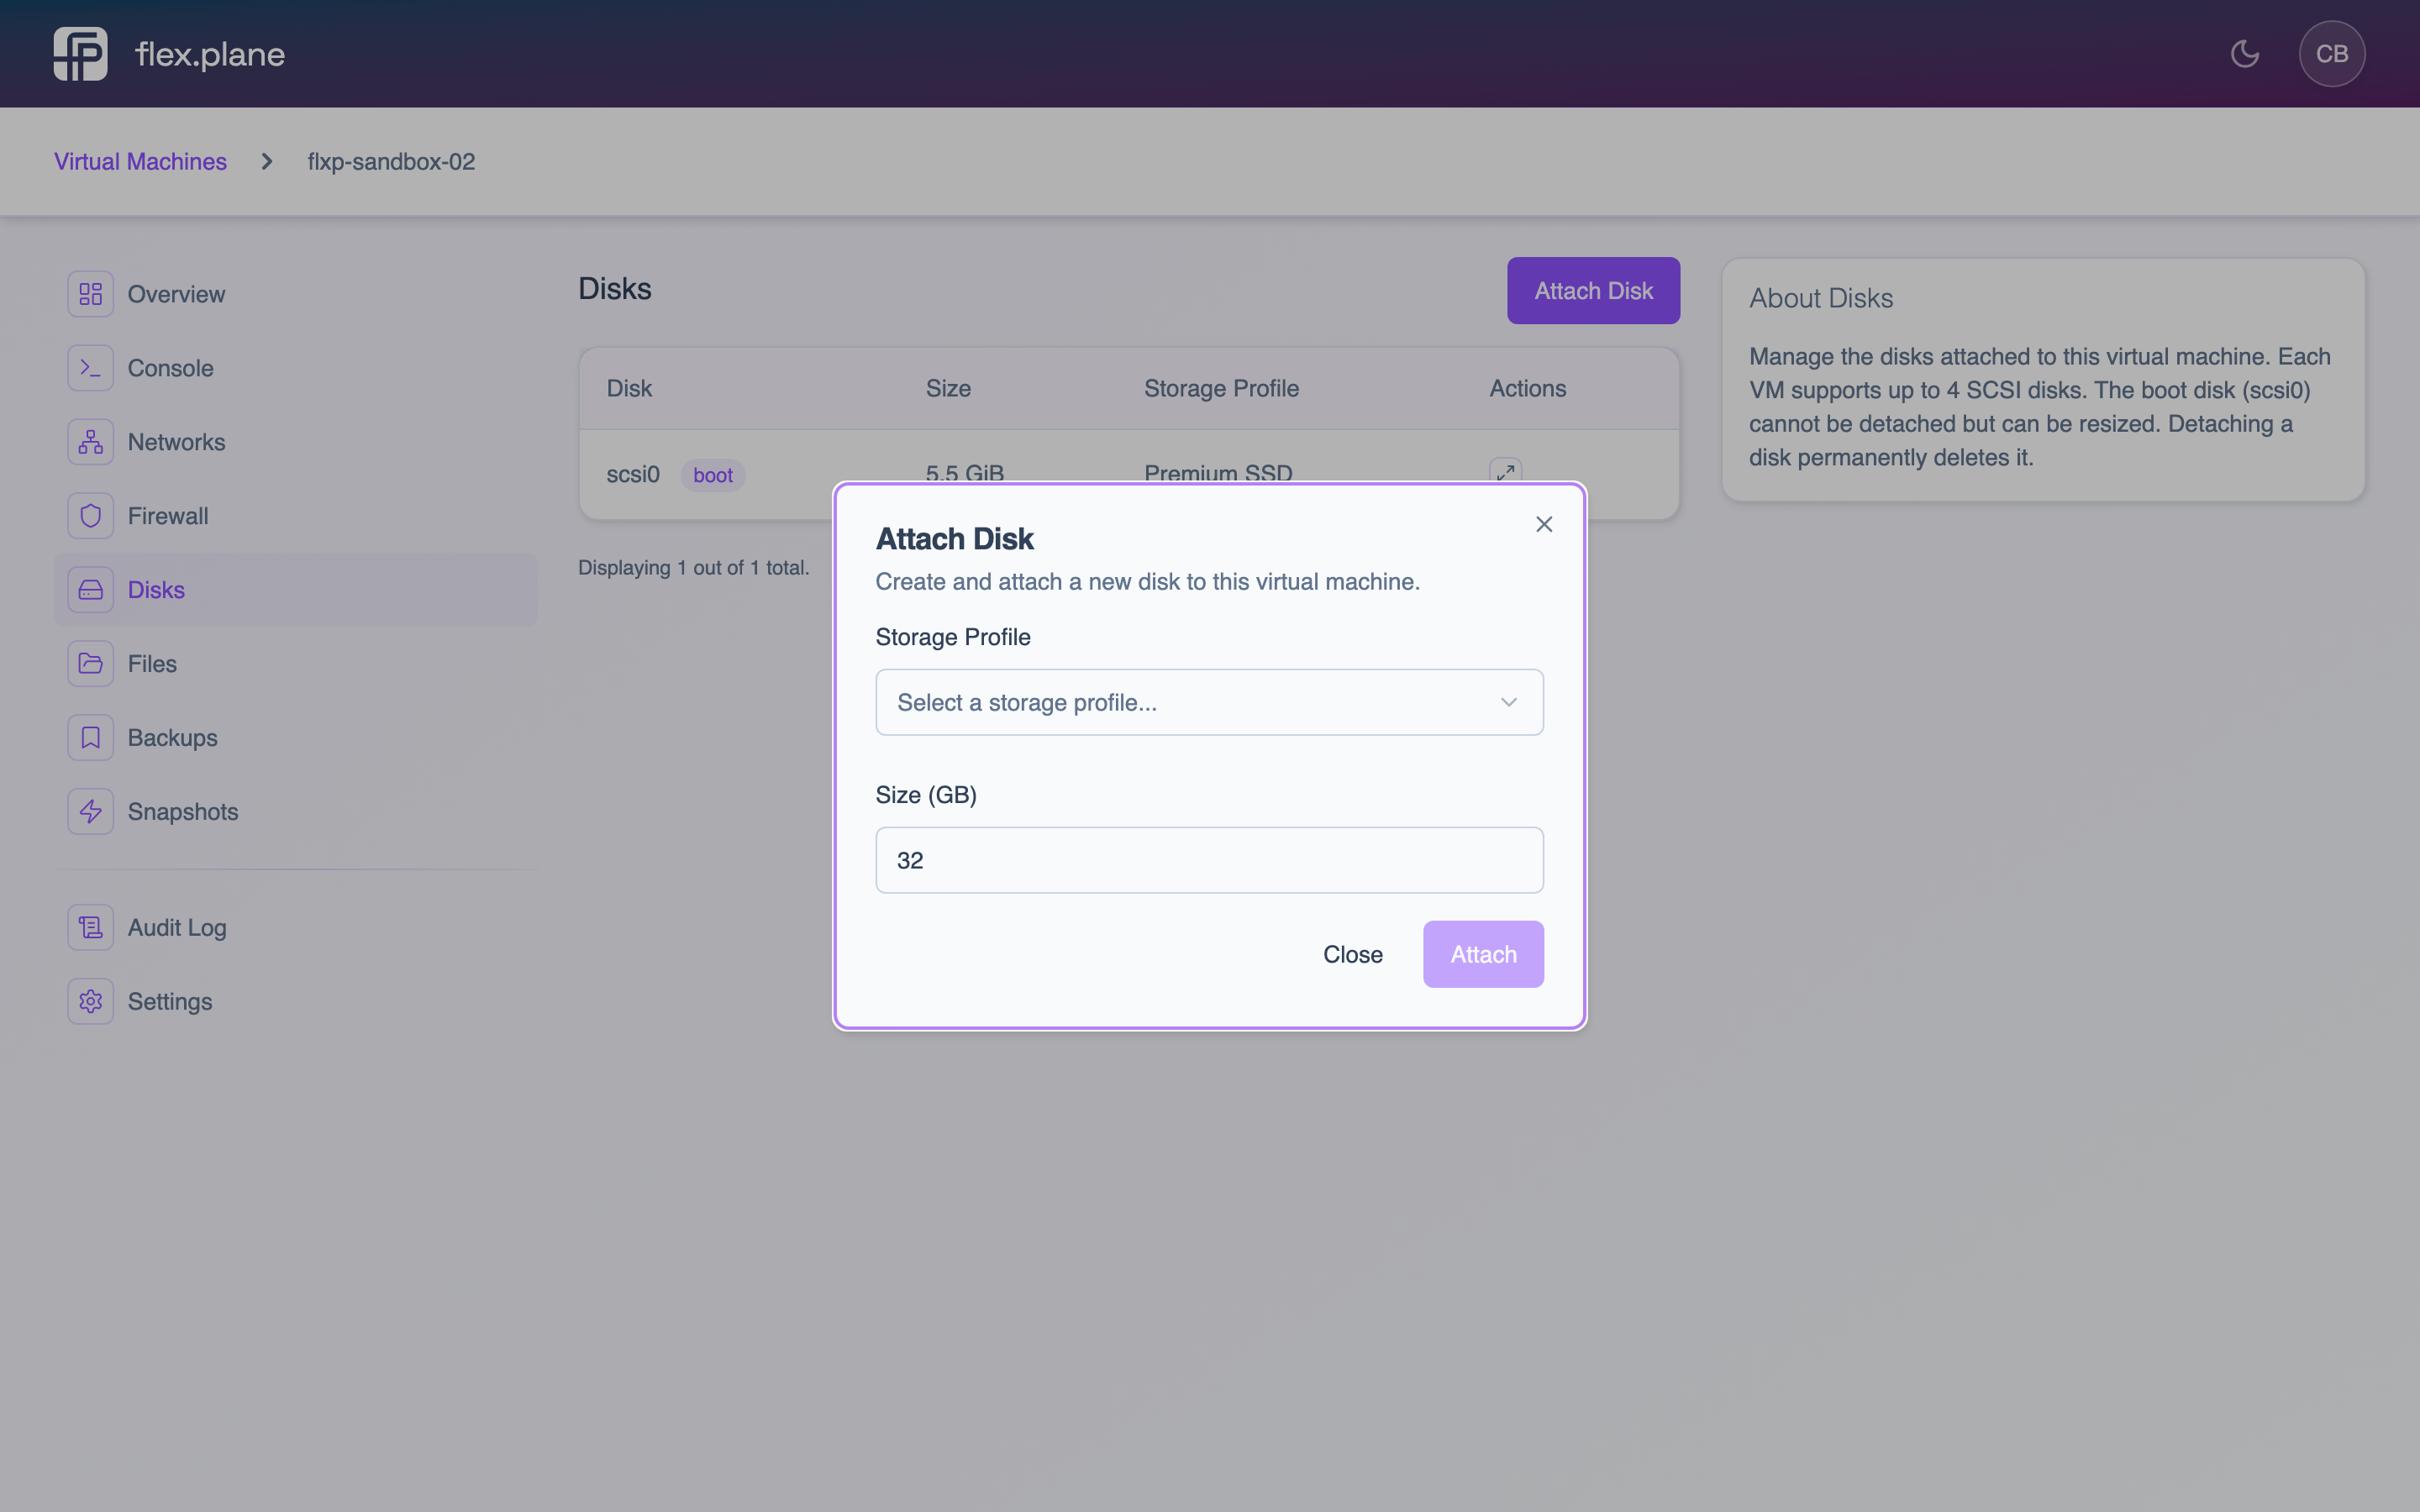 The attach disk form lets you select a storage profile and specify the disk size in gigabytes.
Attach a disk
Add a new data disk to an existing VM. Navigate to the VM's Disks tab and click Attach Disk. You specify the storage profile (which determines the disk tier and I/O limits) and the size in gigabytes.
The new disk appears as a block device inside the VM. You will need to partition, format, and mount it from within the guest OS.
lsblk inside the VM to see the new device. On Linux, it typically shows up as /dev/sdb, /dev/sdc, etc.Detach a disk
Remove a disk from a VM. On the Disks tab, find the disk you want to remove and click Detach.
Resize a disk
Increase the size of an existing disk. On the Disks tab, click Resize next to the disk you want to grow. Enter the new total size — disk resizing only supports growing. You cannot shrink a disk.
After resizing the virtual disk, you need to extend the filesystem inside the guest OS to use the additional space. For example, on Linux with ext4:
# Grow the partition (if using a partition table)
sudo growpart /dev/sda 1

# Resize the filesystem
sudo resize2fs /dev/sda1