

Configure Compute Profiles
Compute profiles are named CPU/memory configurations that users select when creating VMs. Instead of specifying arbitrary resource values, users pick from a curated catalog, keeping VM sizes consistent and predictable across the platform.
Manage compute profiles from the Settings page in the portal. The Compute Profiles section shows all configured profiles with their CPU and memory allocations.
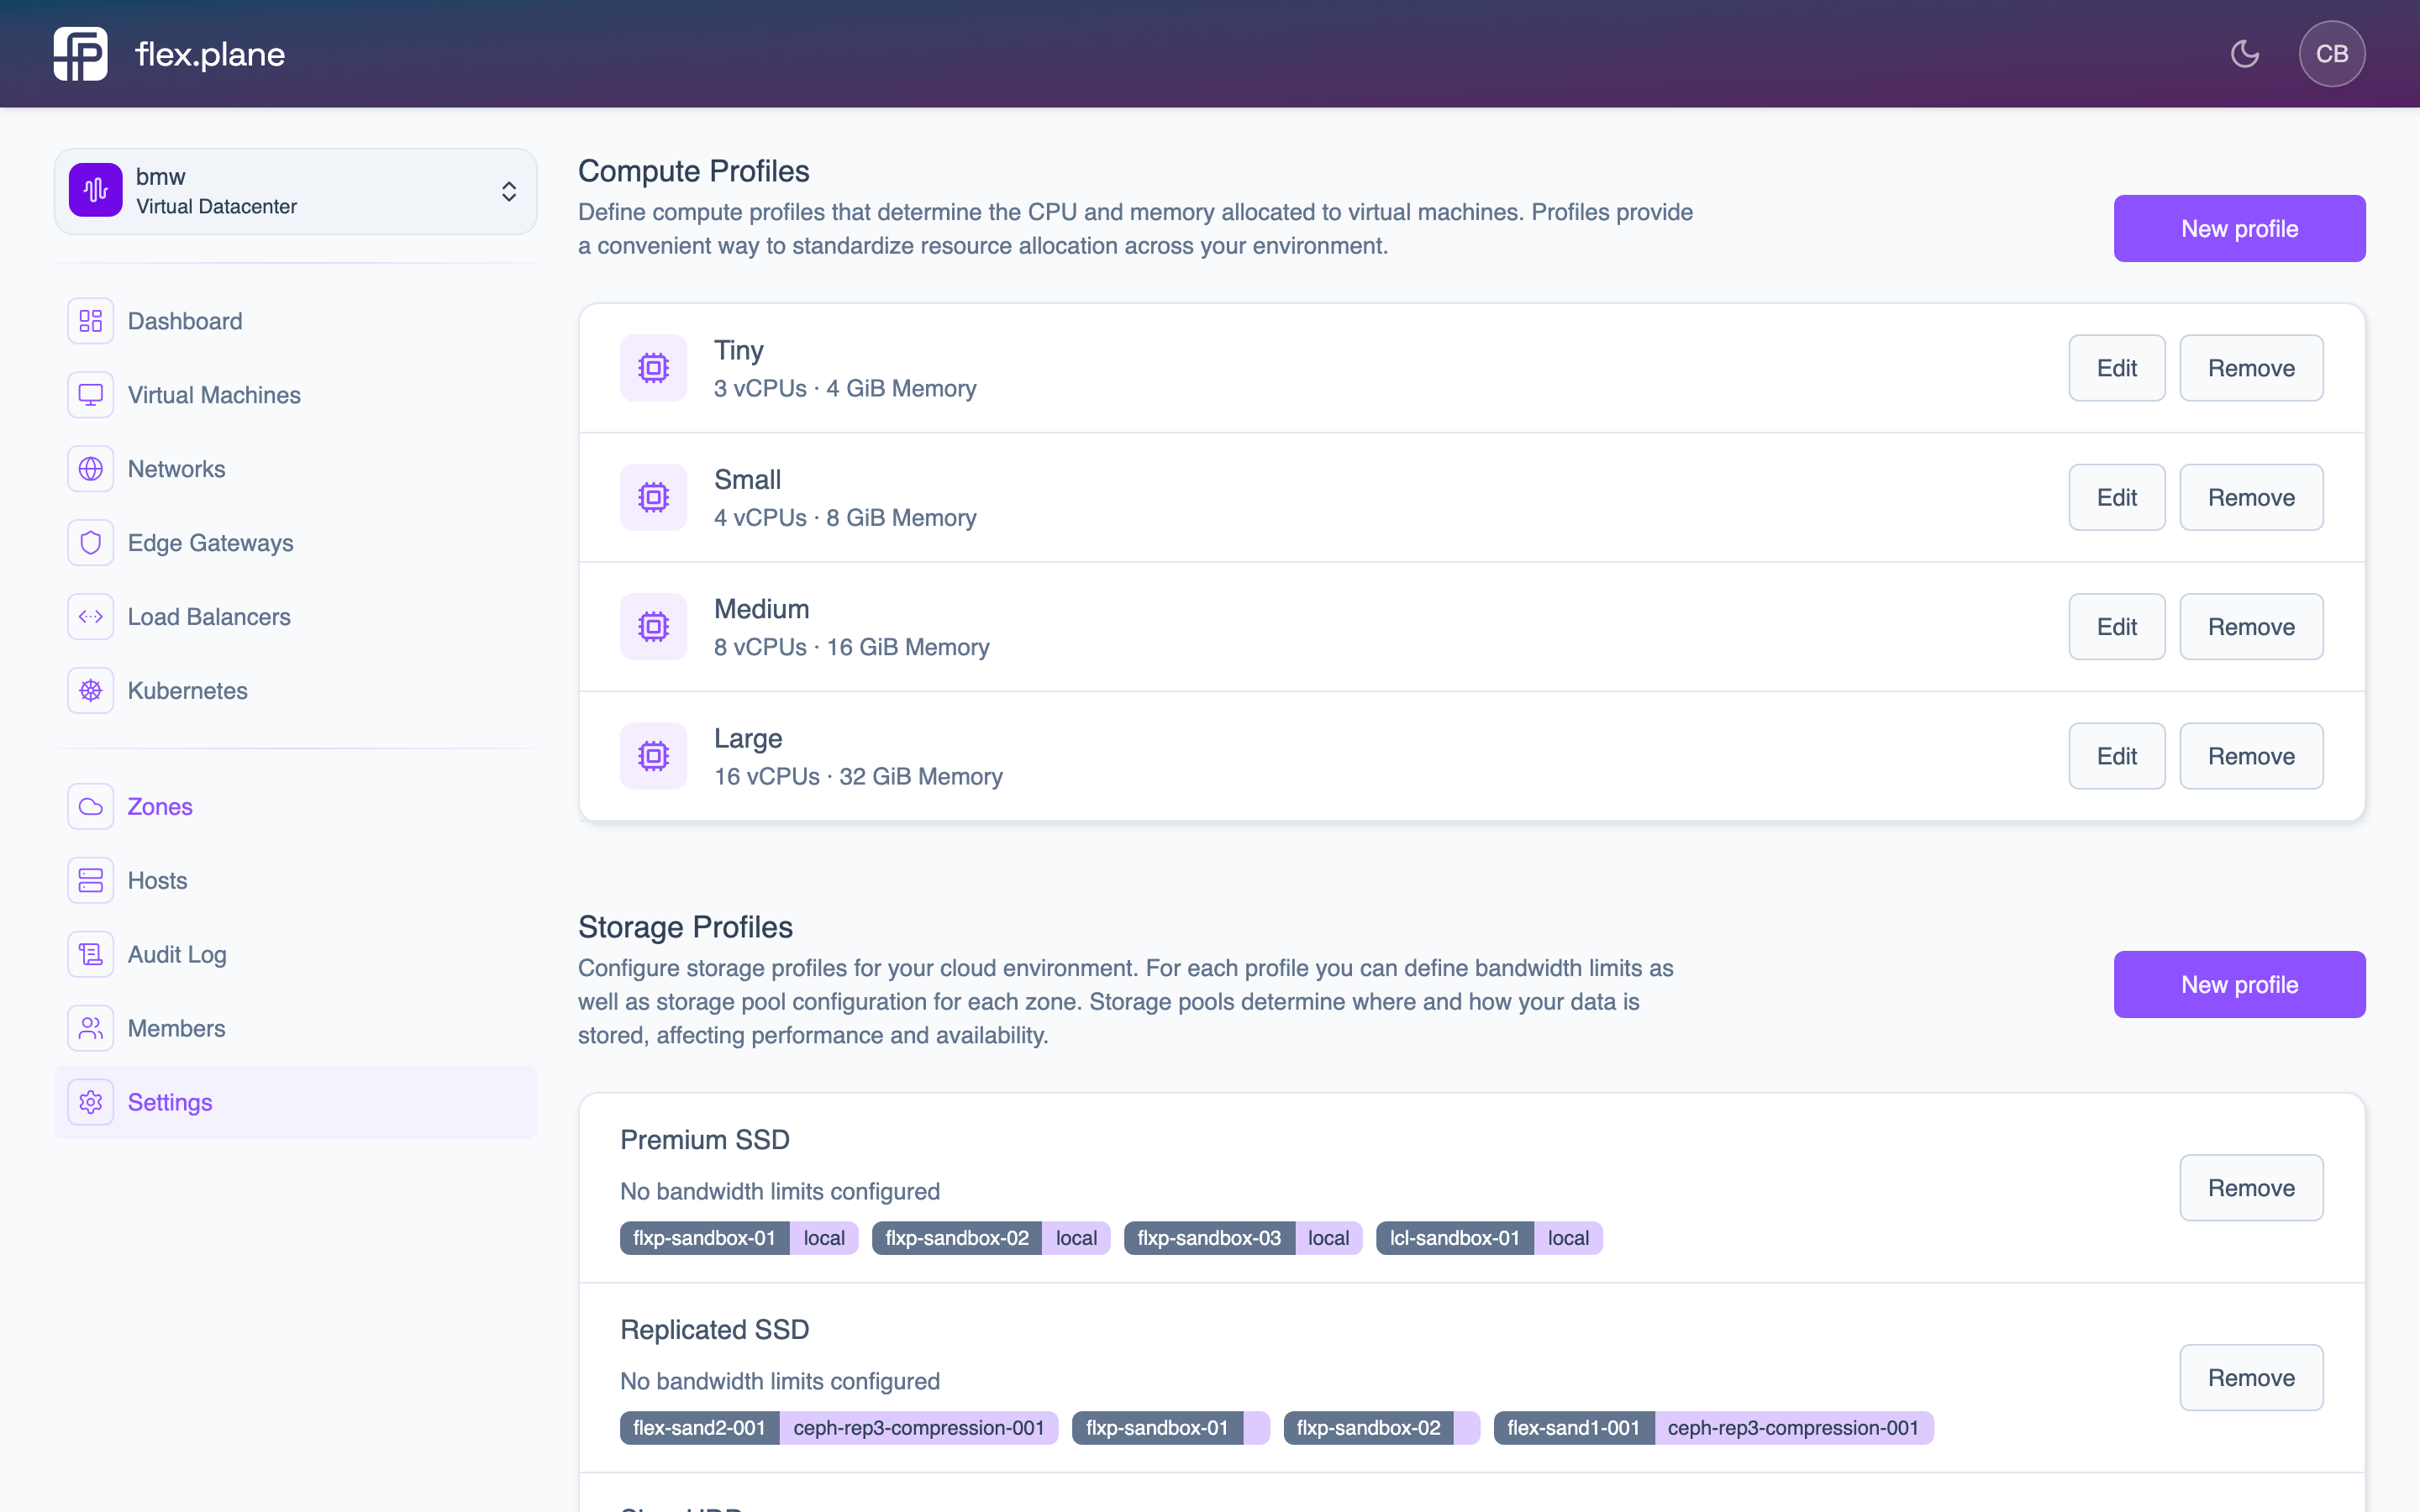 The Compute Profiles section shows each profile's name, vCPU count, and memory allocation with edit and remove actions.
Add a profile
Each compute profile defines a name, CPU core count, and memory amount.
Constraints:
| Parameter | Min | Max |
|---|---|---|
cpus | 1 | 64 |
memory | 1024 MiB (1 GiB) | 131072 MiB (128 GiB) |
In the portal:
- Navigate to Settings.
- In the Compute Profiles section, click New profile.
- Enter the name, CPU count, and memory.
- Click Save.
A practical starting catalog might look like this:
| Name | CPUs | Memory |
|---|---|---|
| Small | 1 | 2048 MiB |
| Medium | 2 | 4096 MiB |
| Large | 4 | 8192 MiB |
| XL | 8 | 16384 MiB |
| 2XL | 16 | 32768 MiB |
Update a profile
To rename a profile or change its resource allocation, click Edit next to the profile you want to modify. Update the values and save.
Remove a profile
To remove a profile from the catalog, click Remove next to the profile. Removing a profile does not affect existing VMs. It only prevents users from selecting it for new VMs.